Creating a Customer
Add a new customer and complete its details.
Note:
The following instructions explain the basic and
mandatory fields to be completed. Your office may use additional fields. Make
sure these are correctly completed, and if you have any doubt, contact your IT
administrator.
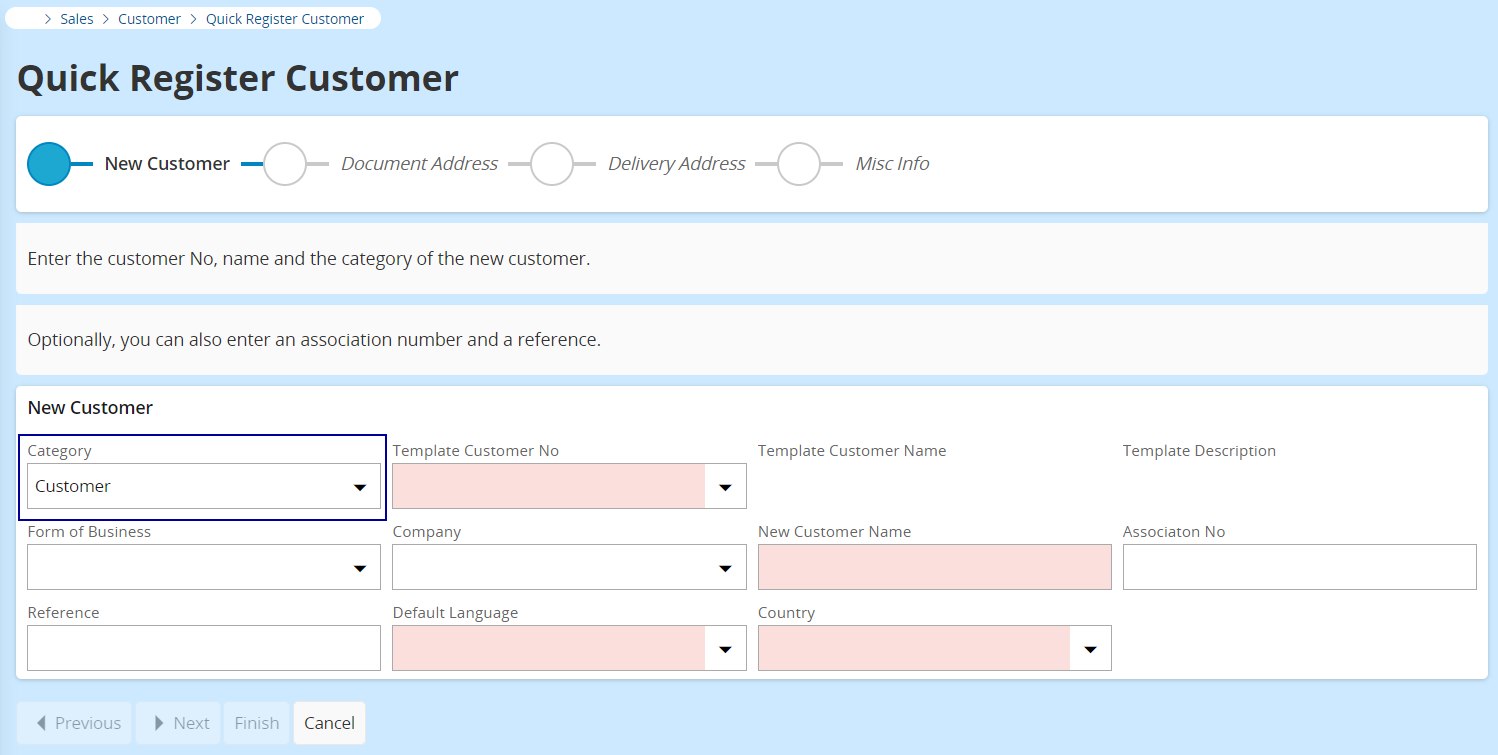
- Go to the page Quick Register Customer.
-
In the Category field, select
Customer.
-
In Template Customer
No select the
template that corresponds to the type of customer you want to create. This
automatically completes some standard fields such as your Company, the customer's Default
Language and Country. Check that the details are
correct, or update them.
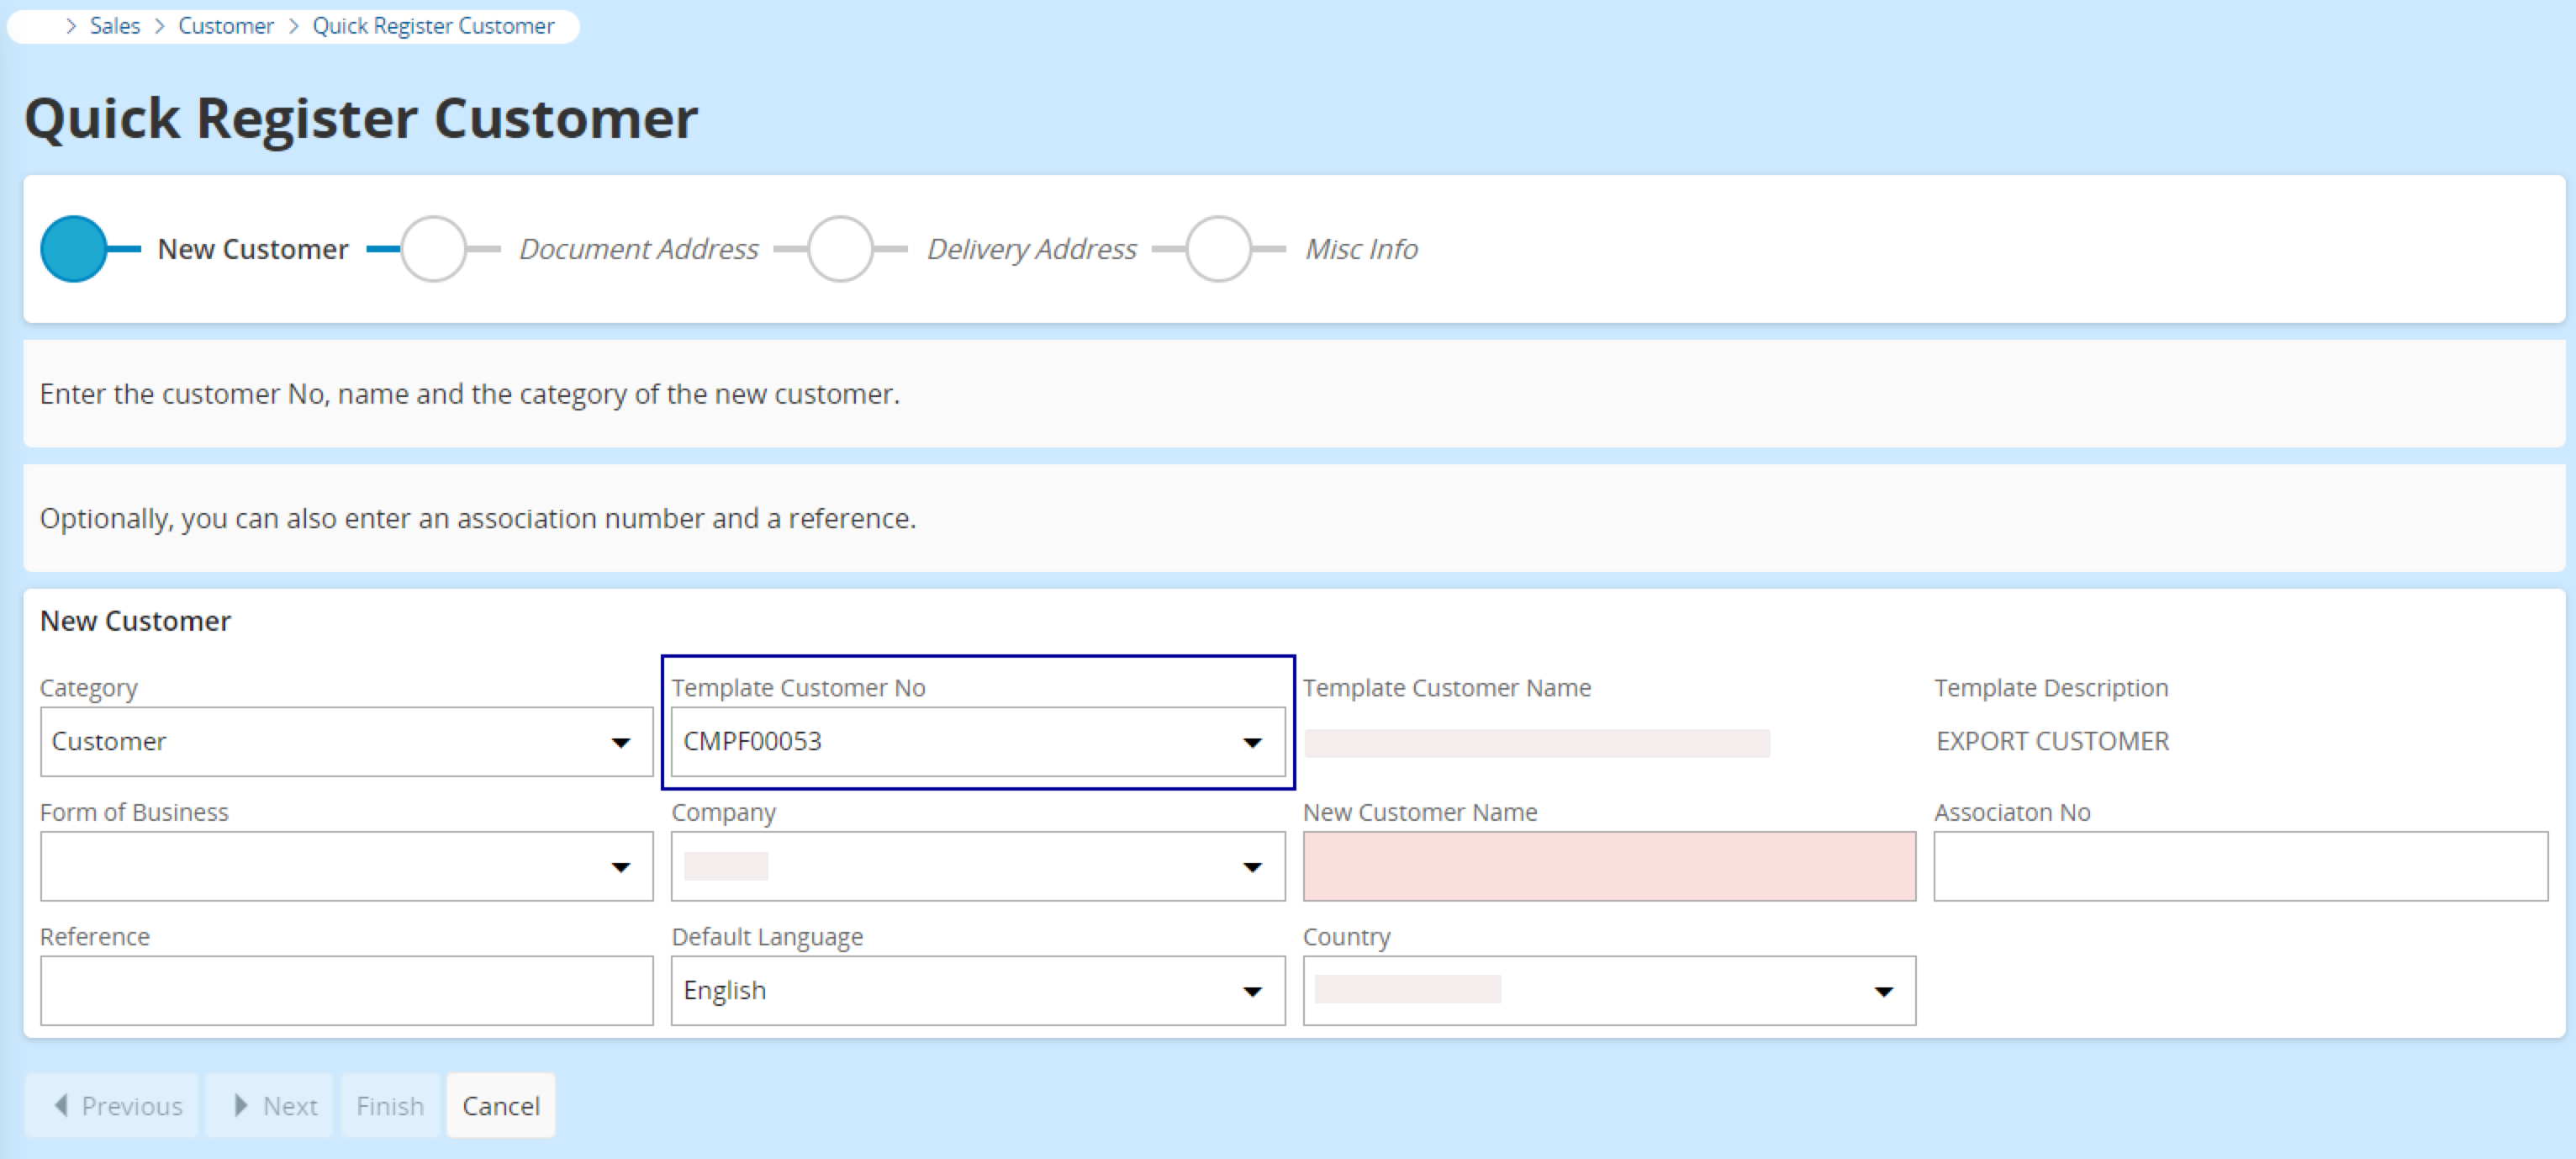
- Enter the name of the customer in the field New Customer Name.
-
Complete the other fields if needed, then click Next.
You switch to the Document Address form.
-
By default, the address displayed is copied from the template. Click the
Edit button
 to enter the correct Document Address of the new customer. This
address will appear on all documents generated from IFS for the customer.
to enter the correct Document Address of the new customer. This
address will appear on all documents generated from IFS for the customer.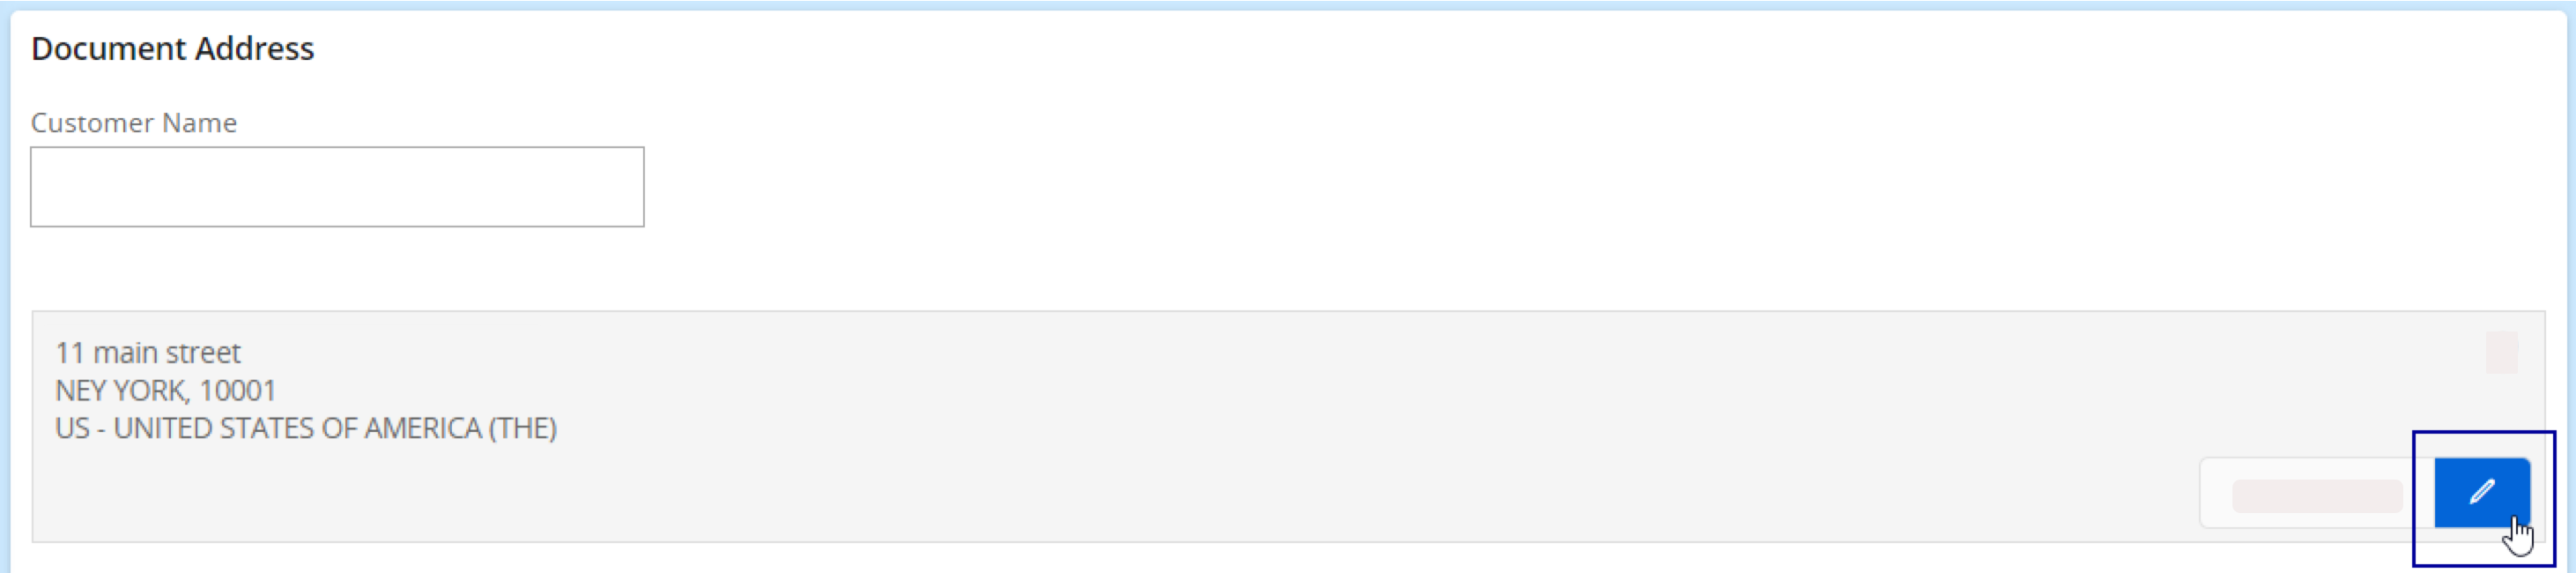
Note:Address 1 and Address 2 fields are limited to 30 characters maximum. Make sure to respect this limit or it will block the customer creation.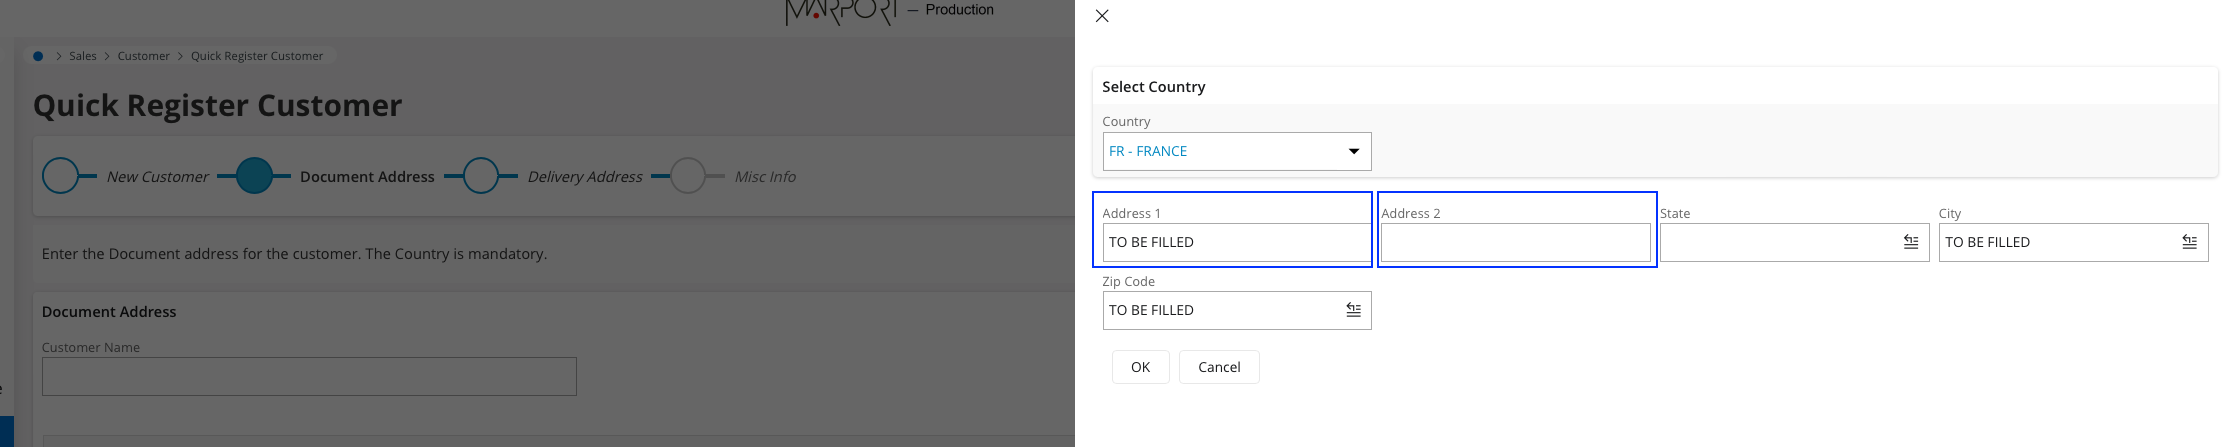
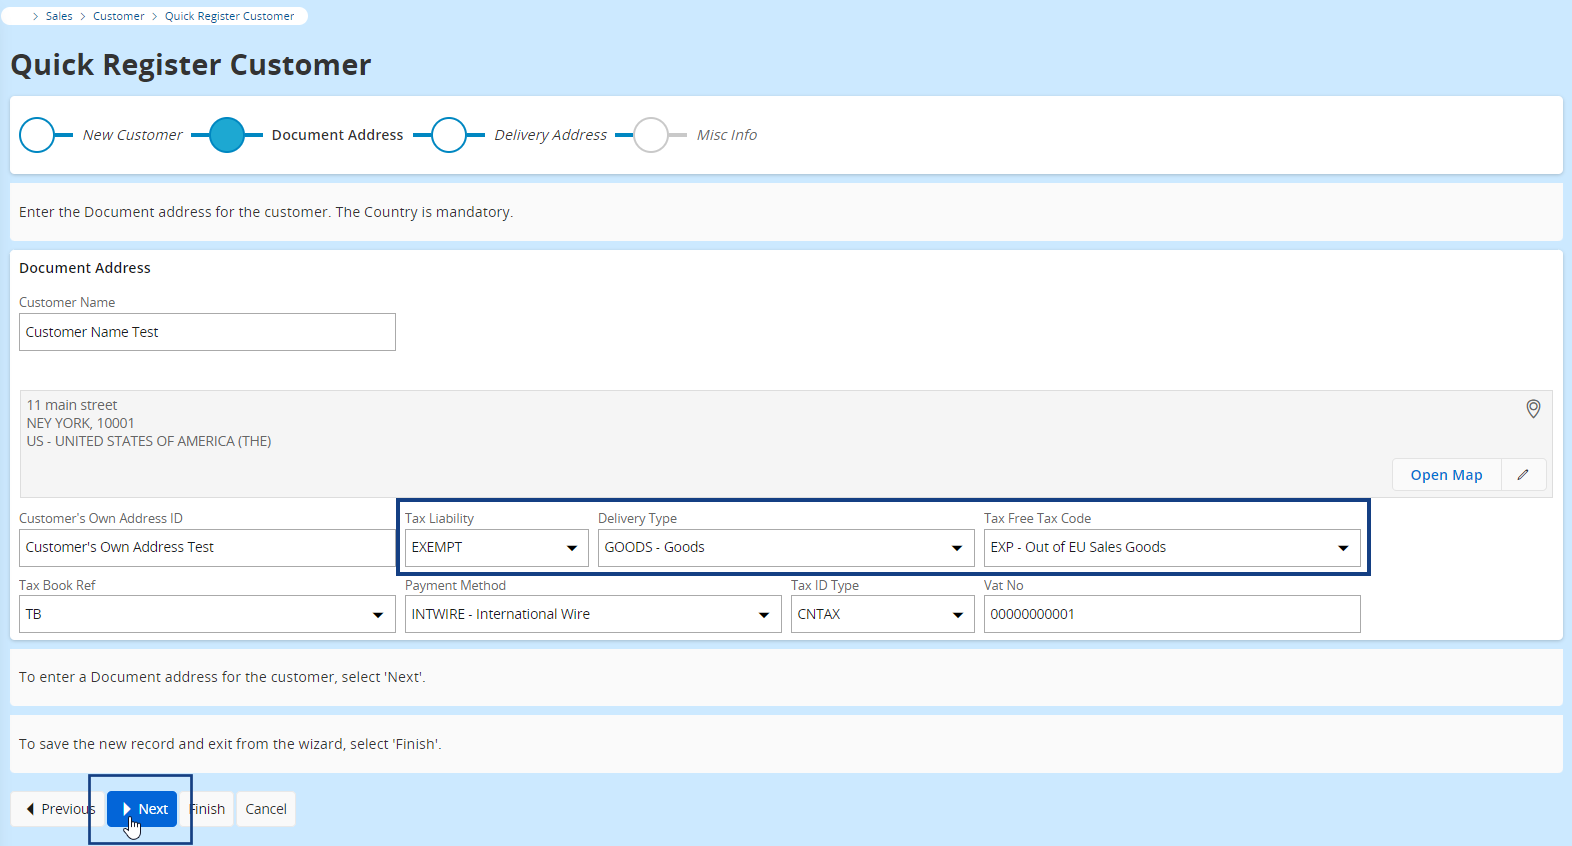
-
Complete the following fields:
- Tax Liability: select TAX if you must apply a tax or EXEMPT if your customer is exempted from taxes.
- Delivery Type: if tax liability is set to EXEMPT, select the value *.
- Tax Free Tax Code: this configuration is only used for exempted customers (Export, Exempted, etc.)
-
Complete the other fields if needed, then click Next.
You switch to the Delivery Address form. -
Activate the toggle Same As
Document if the delivery address
is the same as the document address.
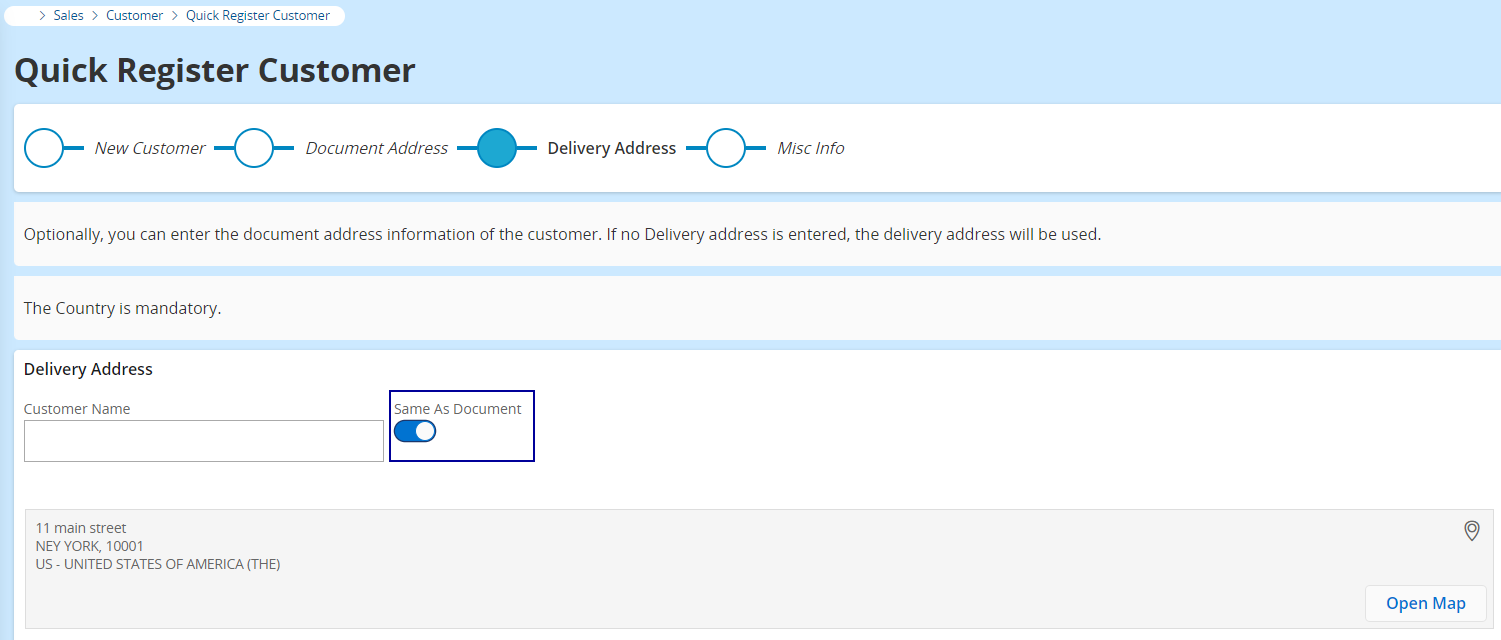
- Click Next to switch to the Miscellaneous Information form.
- The following fields are automatically populated, check that the details are correct: Cust Stat Grp, Currency, Salesperson, Payment Terms, Market, Customer Group.
-
Complete the following mandatory fields: Ship-via and Delivery Terms.
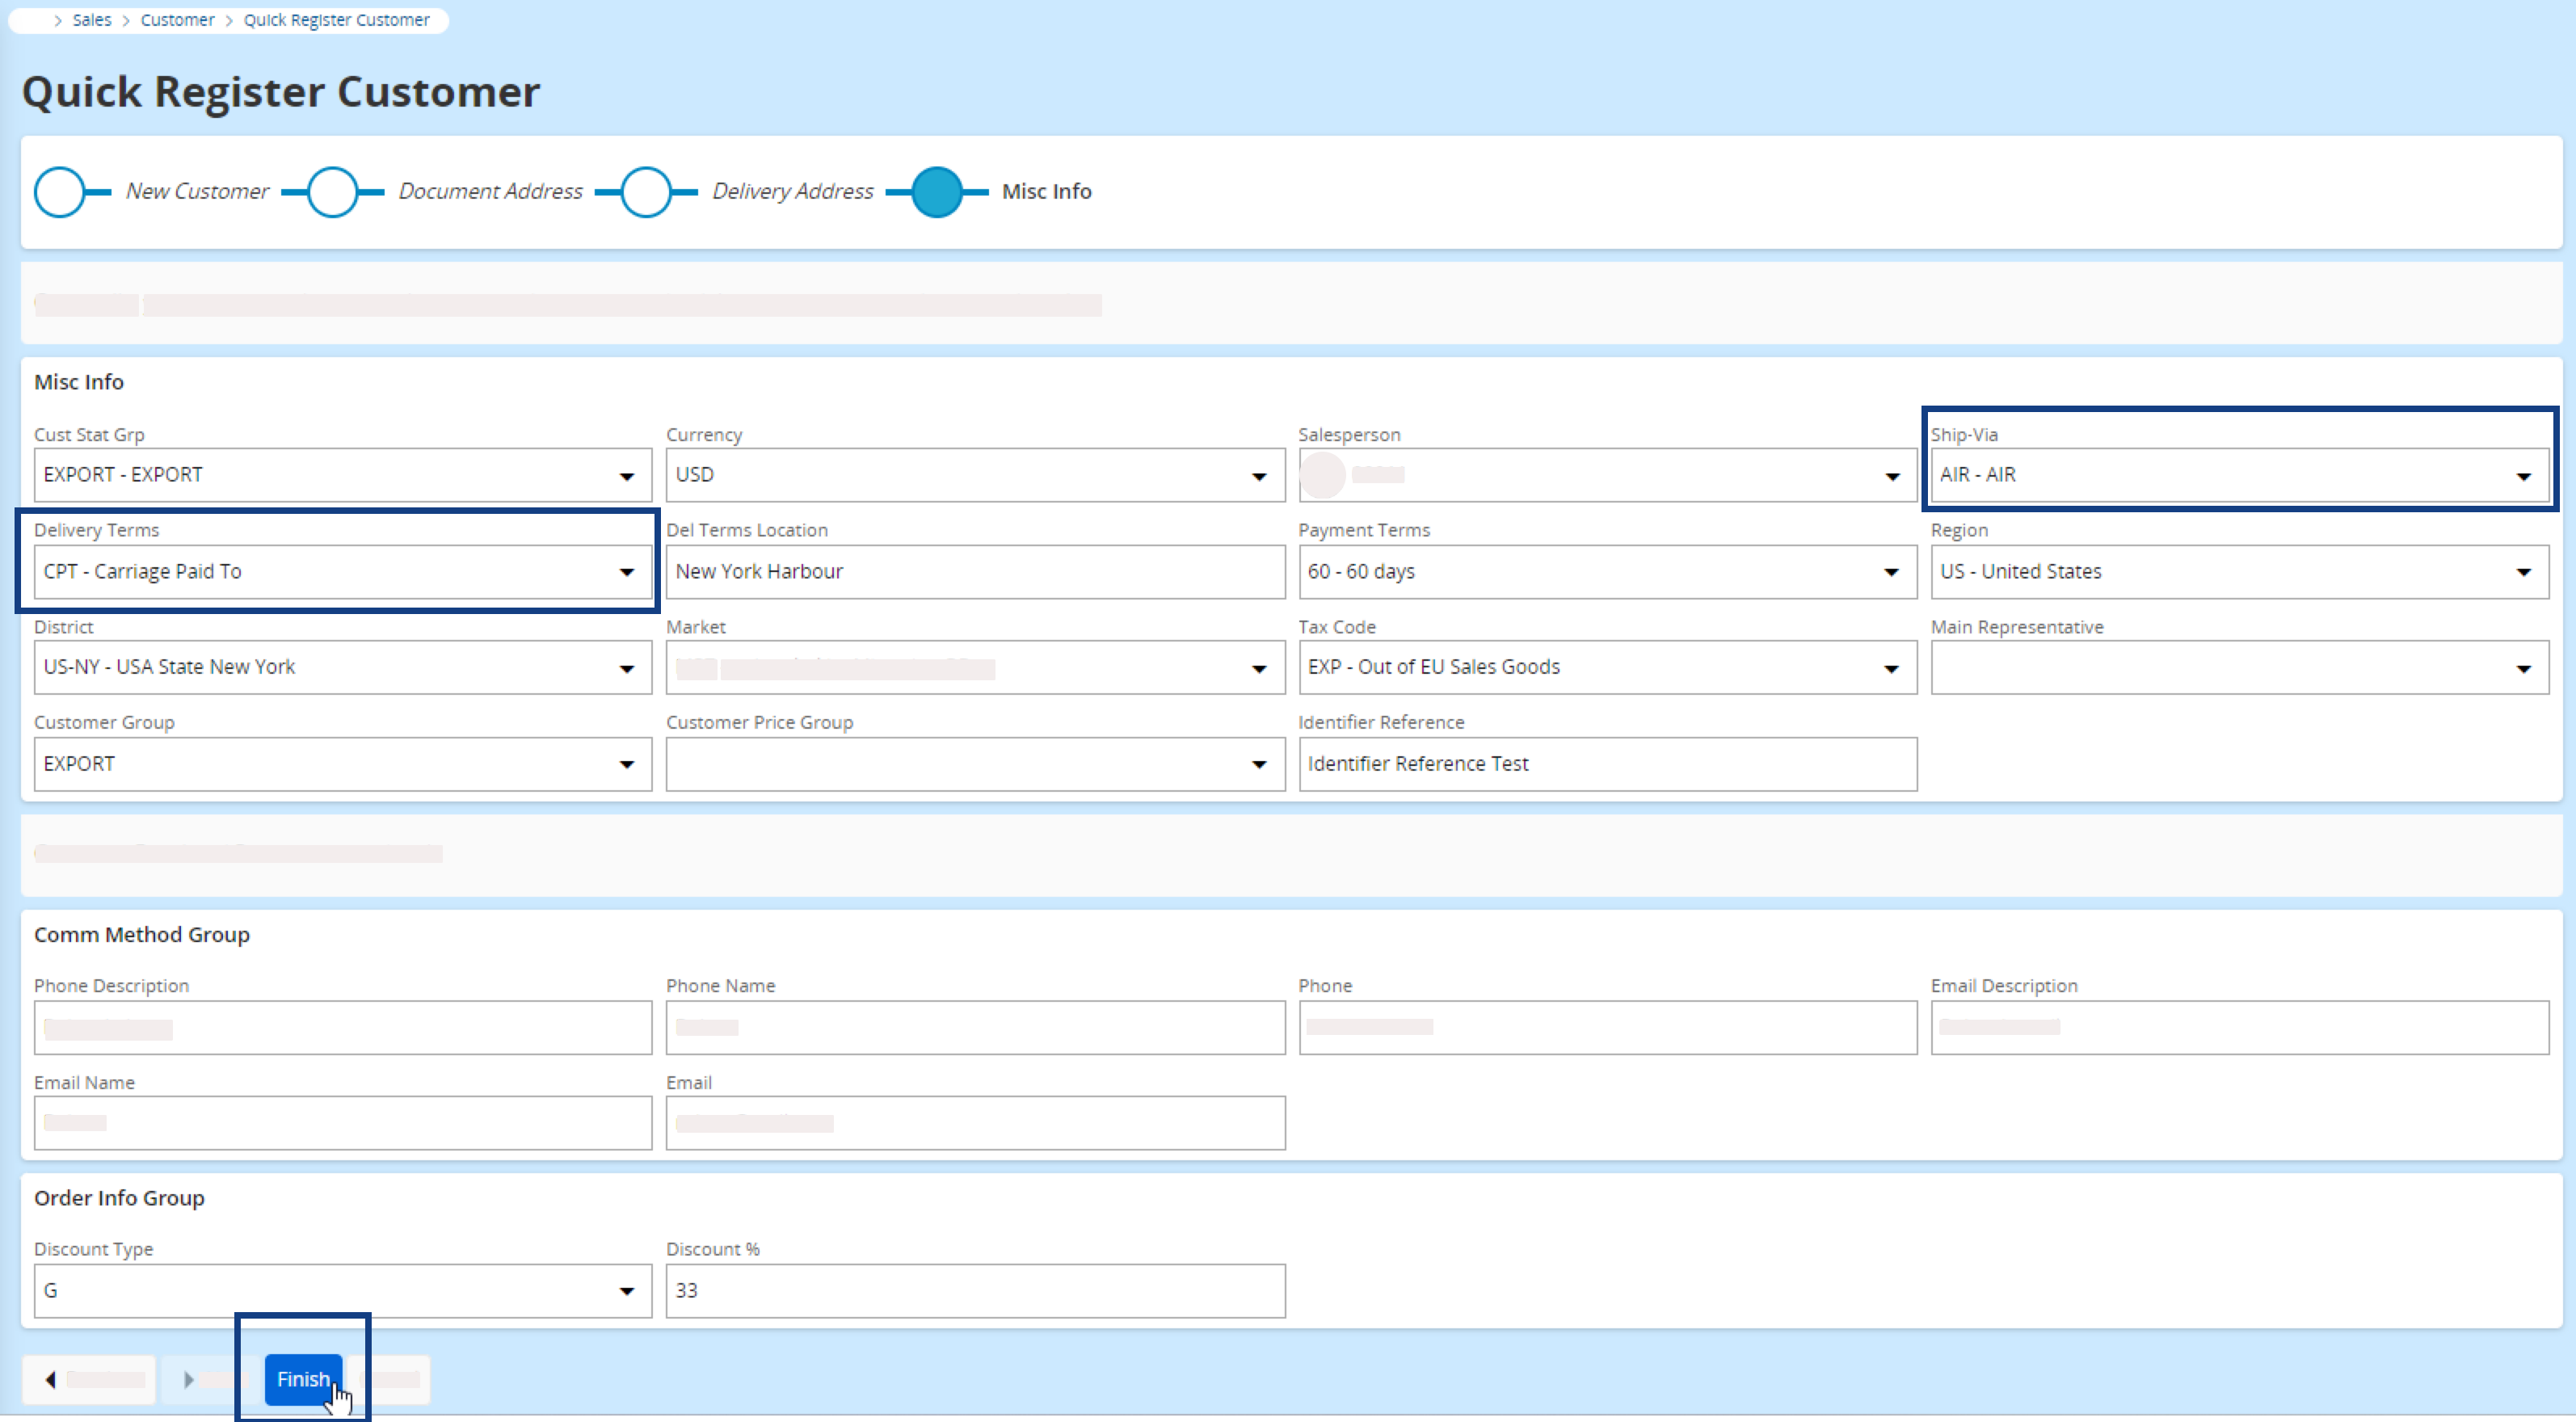
-
Click Finish to create the
customer.
A dialog appears showing the customer identification number. Click OK if you want to preview this customer information sheet.