Creating a Non-Inventory Sales Part
Create a new non-serialized part intended for sale.
-
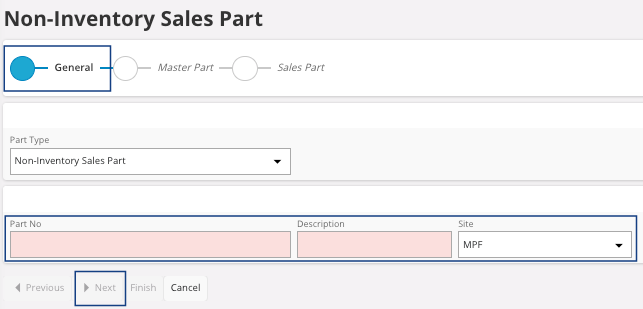
If you chose to create a Non-Inventory Sales
Part:
- Enter a name for the new part, in the field Part No and a Description.
- Select your Site.
- Click Next.
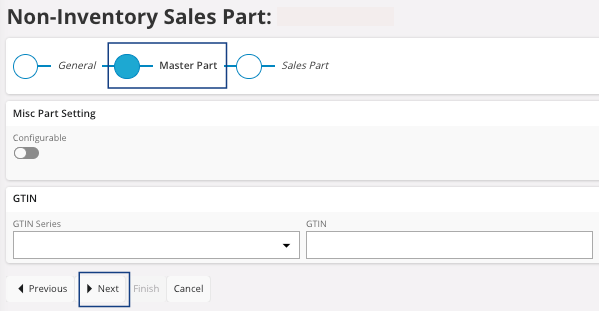
-
Do not change any fields in the Master Part section. Click
Next.
-
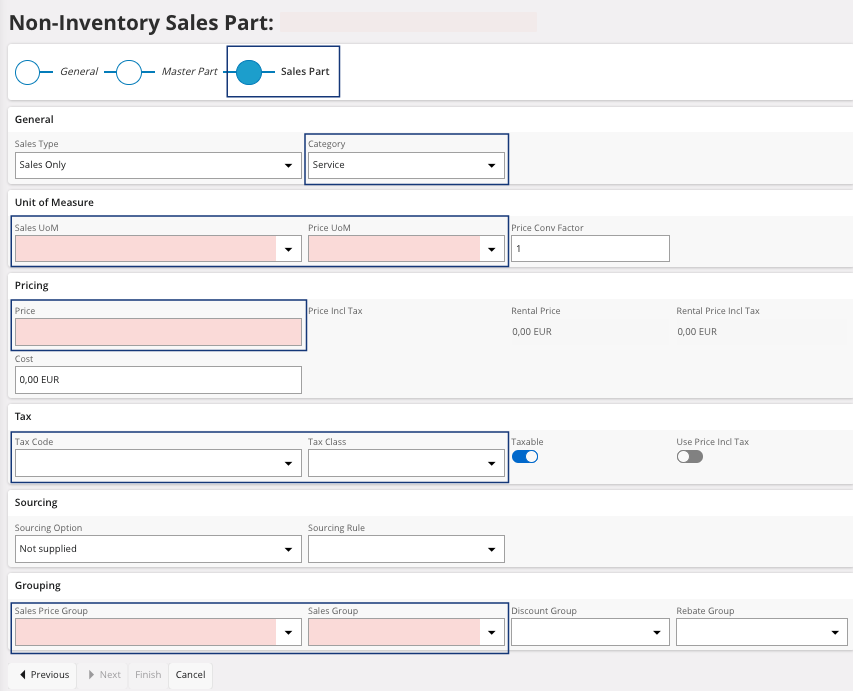
In the Sales Part section:
- Select the Category of your part.
- Select its unit of measure in the field Sales UoM.
- Enter the Price for one unit.
- Select the Tax Code to apply.
- Turn on the Taxable toggle.
- Select the Sales Price Group and the Sales Group.
- Click Finish.
The part has been created. -
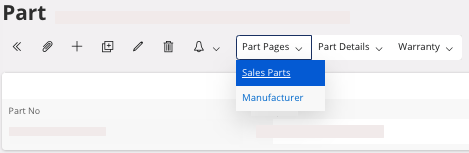
You need to go in the page Parts and filter the page with the
Part No. Once you find
your part, click the three dots
 and
click Details.
and
click Details.
-
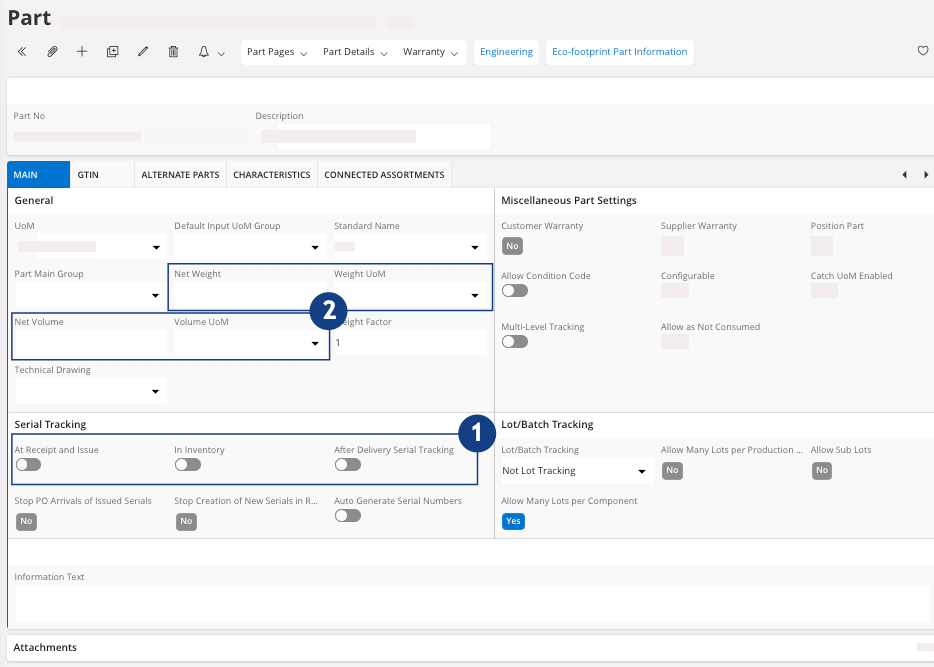
Check your information in the Main tab:
-
In the area Serial
Tracking, check that the
toggles At Receipt and
Issue, In Inventory and
After Delivery Serial
Tracking are
turned off
 .
.
-
You can add a Net Weight
and a Net Volume for your
part
 .
.
-
In the area Serial
Tracking, check that the
toggles At Receipt and
Issue, In Inventory and
After Delivery Serial
Tracking are
turned off
-
Click .
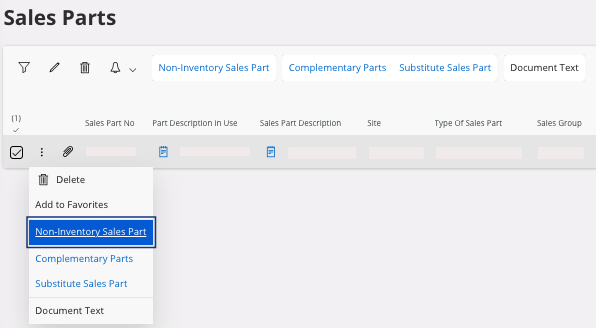
-
On your lines, click the three dots and click
Non-Inventory Sales
Part.
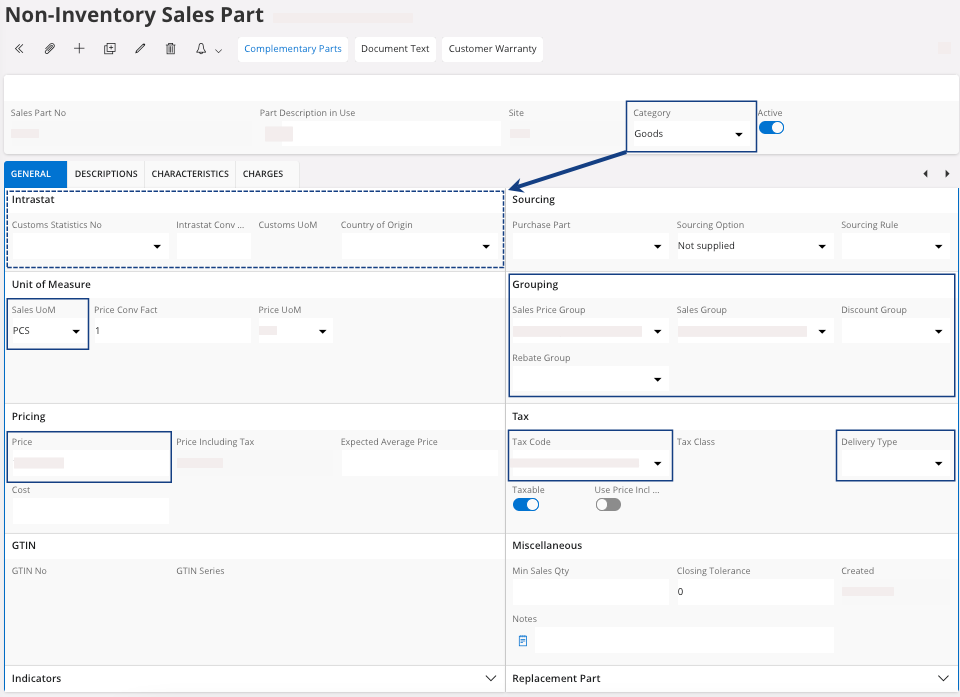
-
You need to:
- Check that the Category has been correctly configured.
- If you have selected Goods, you need to fill the fields in the Intrastat area. If you have selected Services, this area is not available.
- Check that the Sales UoM has been correctly selected.
- Check that the Price has been correctly configured.
- Check the Tax Code and if Taxable toggle is turned on, then select a Delivery Type.