Creating a Sales Quotation
Create a sales quotation and fill the starting information.
Creating a New Sales Quotation
- Go to .
-
In the first screen, click New +.
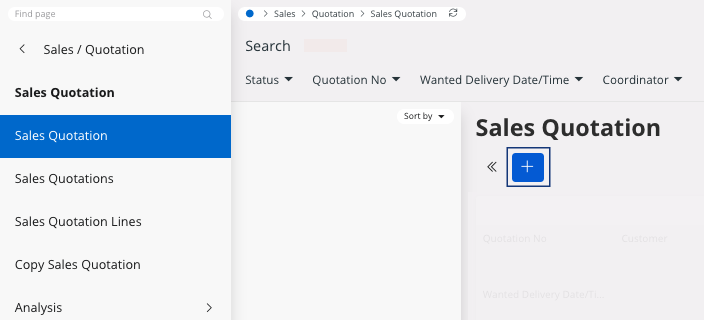
The image below appears. The fields in red are mandatory.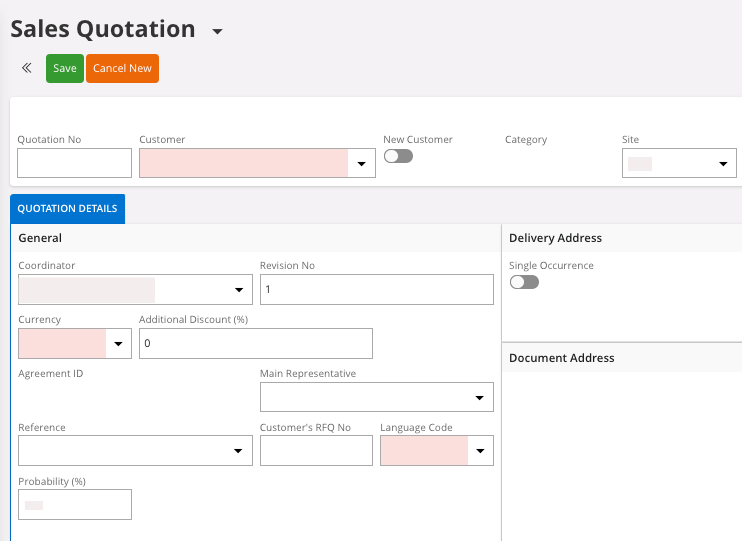
-
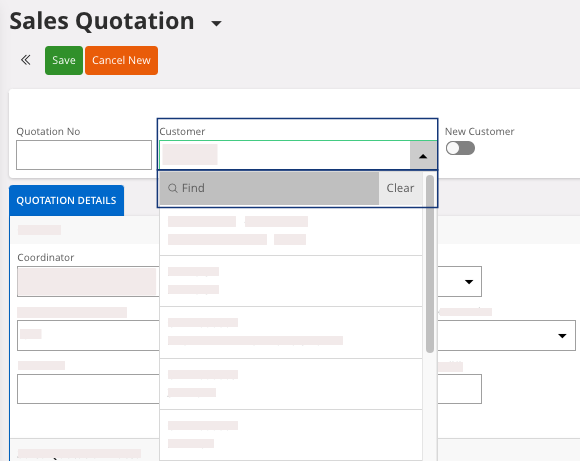
Go into the Customer field
and write your Customer No or
Name.
Note:Click Find to open the full list and choose your customer.
 Once your customer is selected, some fields are automatically filled with information from the Customer Master Data, your clients already registered. If you want, you can change these default value.
 -
Enter the mandatory information in the fields in red.
Note:You may review fields that are not mandatory but important for your sales quotation like delivery information such as Ship-via, Customer’s RFQ No, Wanted Delivery Date/Time,…
You can also add a Quotation No otherwise it is generated automatically.
-
Once you have checked all the information, in the header, click Save.
You can notice two main changes on your screen, a Quotation No have been created and new tabs are available.

Adding Lines in your Sales Quotation
A line corresponds to each sales part with all its information that you propose to your customer.
-
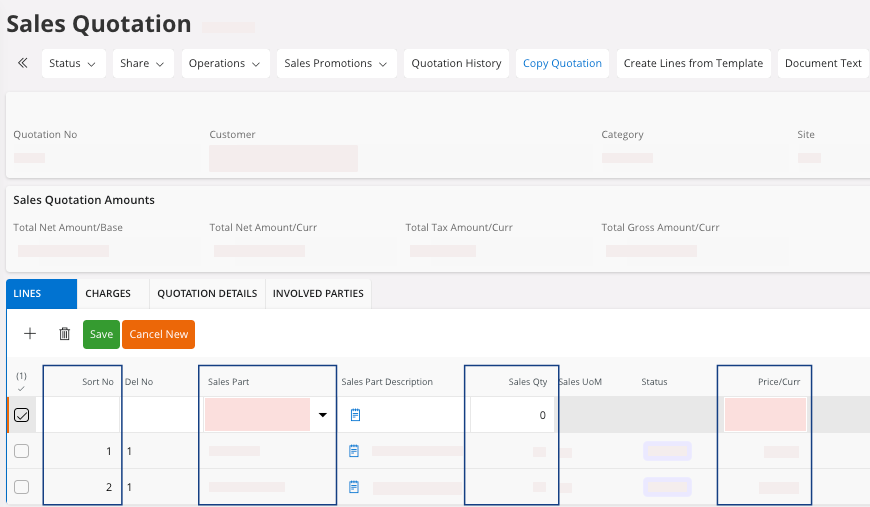
Select the tab Lines and
click New +.
-
Go into the Sales Part field
and select the Sales Part you
want in your sales quotation.
Note:Click Find to open the full list of Sales Part Number available for your Site.
-
For a sales quotation line, you must fill three fields:
- Sales Part: enter the Part No.
- Sales Qty: enter the Sales Qty of this line item.
- Price/Curr: price
should come from Sales Part setup but can be
adjusted into the quotation line.
Remember that this price is linked to the currency you are using in the header of the sales quotation.
Note:You can organize your sales quotation lines with the Sort No field. Make sure it is correctly filled or click the field Sort No to update it. - When you have created all your lines, do not forget to click Save.
-
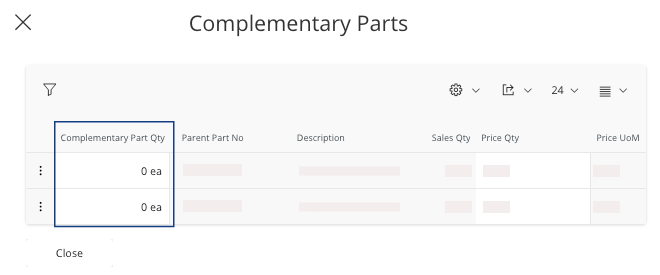
The Complementary
Parts pane
can appear depending on the products selected. It displays the parts often
sold with the product selected. You can choose to:
- Add a quantity in the field Complementary Part Qty if you want to add one of these product, and click Save.
- Click Close if you do not want to add a complementary part.
Note:
If you want to add charges into your sales quotation, you
can follow the same process as for the Lines from the tab Charges. It is useful if you do not
want to manage freight, for example, as a separate item in the tab Lines.
Changing the Status of your Sales Quotation to Released
When you have checked all your data and want to continue with the sales quotation, change its status from Planned to Released.
-
Click on
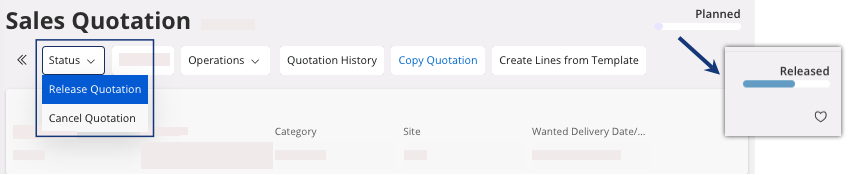
A dialog appears with the message "The Quotation will be released". -
Click OK.
Your sales quotation is released.