Adding a Financial Invoice
-
Go to .
Tip:Add this page to your bookmarks to access it easily.
You need to complete the Header
Information:
-
Select your Company and the Supplier of the invoice.
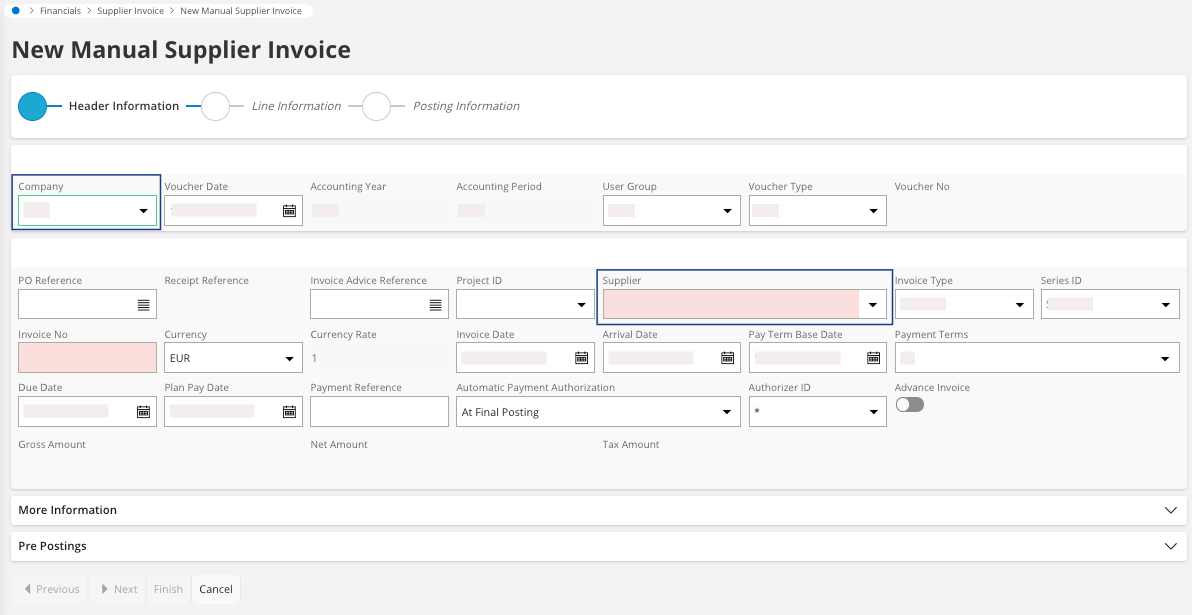
If they have been correctly configured, the fields linked to the company and the supplier appear automatically. -
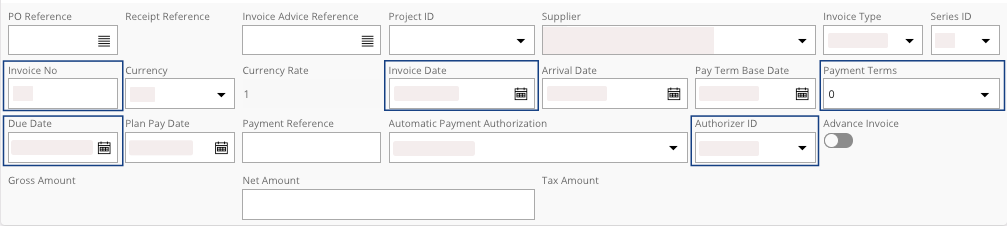
Check and fill the various information
linked to the supplier: Invoice No, Invoice Date, Payment Terms, Due Date, Authorizer ID, etc.
-
Insert the Net Amount: the amount of the
invoice without the tax amount. If the Tax Code has been correctly
completed in the
supplier,
the Tax Amount appears
automatically. Otherwise, enter its value or correct it.
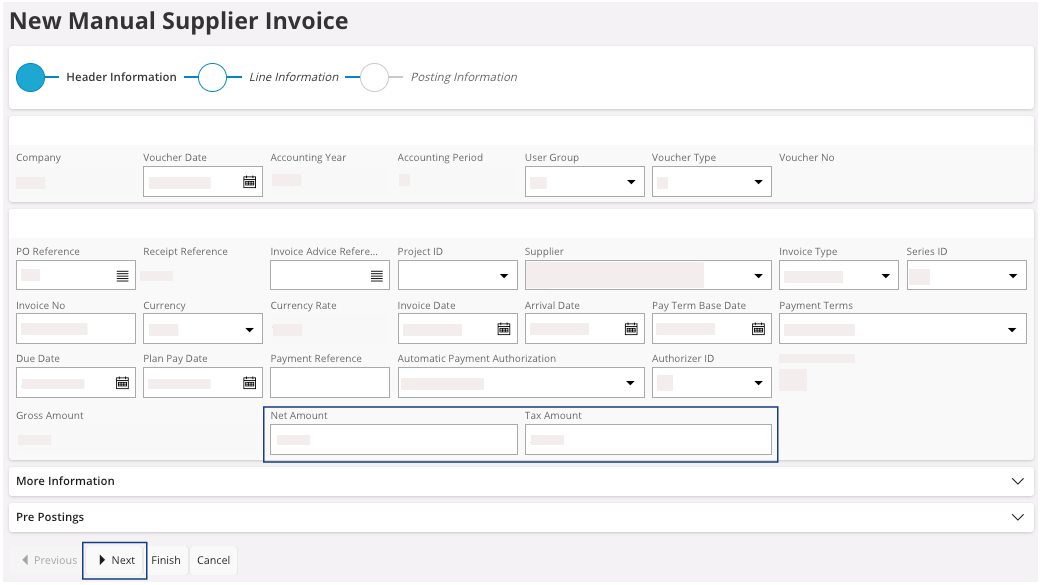
-
Once you have filled and checked all the fields, click
Next.
You move to the Line Information section.
-
Check the information displayed on your line(s) like the
value of the Tax Code and the
various amounts. Complete or change information if they are not
correct.
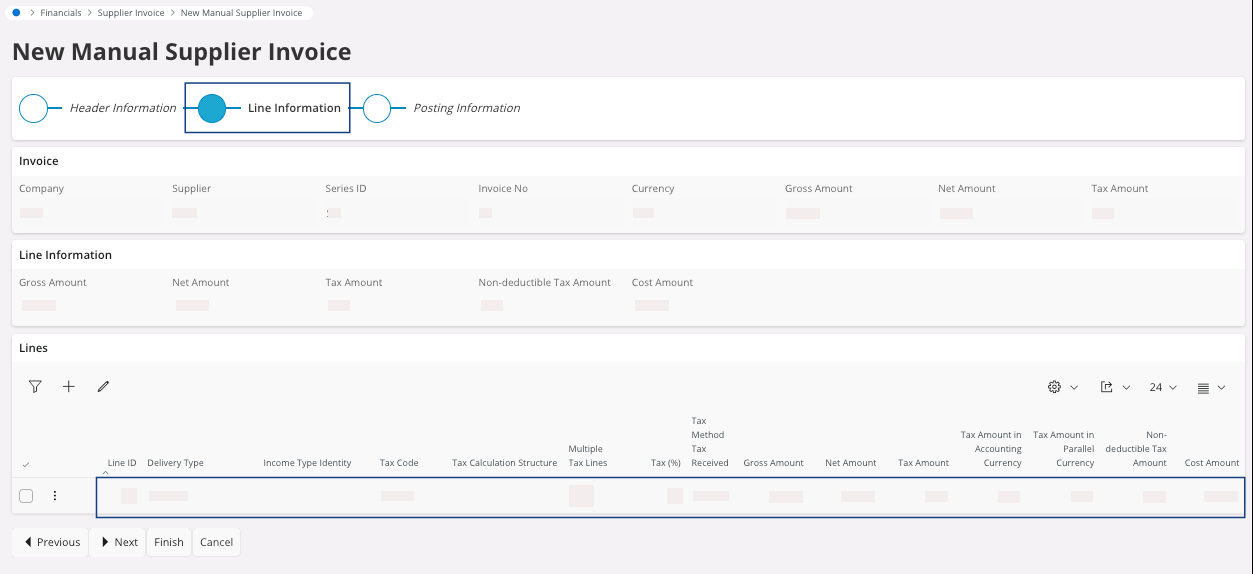
Note:If you have an invoice with several Tax Amount, refer to: Adding a Financial Invoice with Different Tax Amounts. -
Click Next.
You move to the Posting Information section.
You need to complete the Posting
Information with the lines of the
invoice:
-
In the tab Posting Lines, click
New + to add a line.
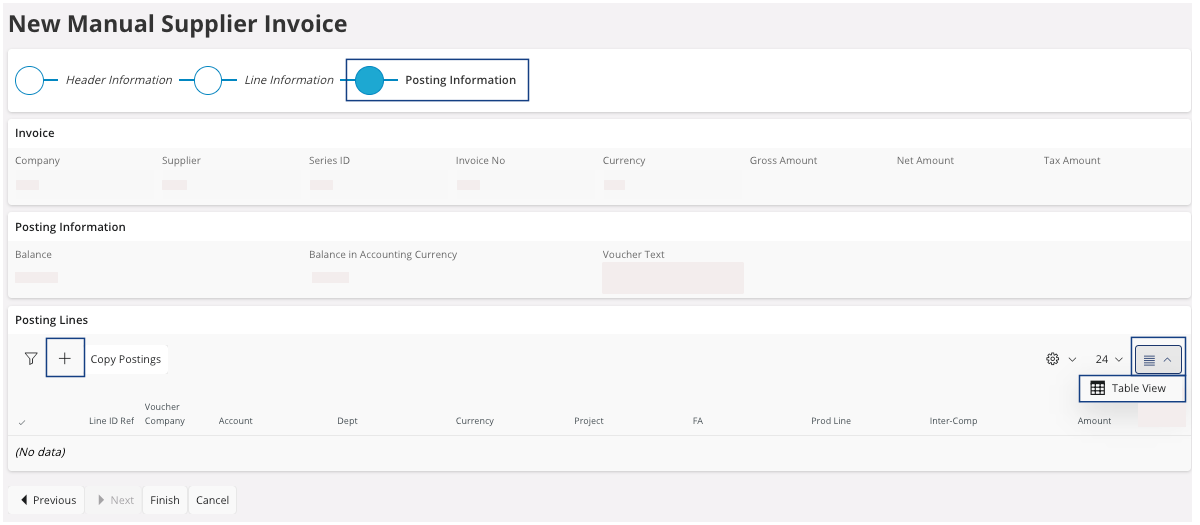
Tip:You can click Table View to display all your records. -
On this line:
When you finished to add your lines, the balance should be equal to 0. Otherwise, check that you filled the correct amounts in your lines.
- Click Done.
-
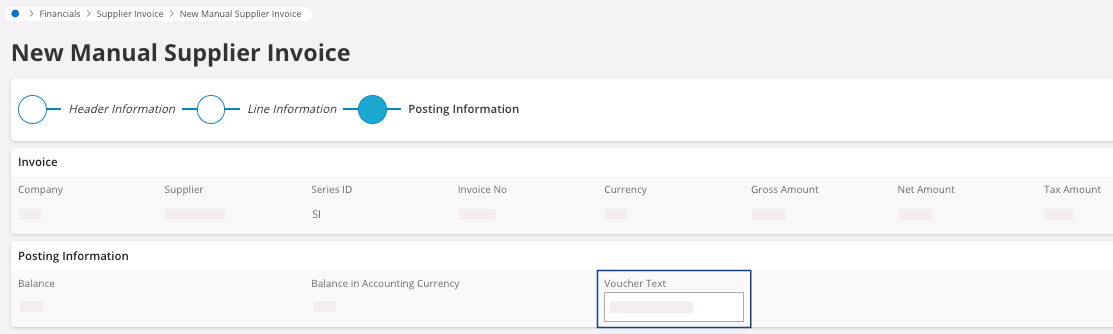
In the area Posting
Information,
you can add a Voucher Text. This
text is used as a description in General Ledger Transactions. If you do not
change it, by default it is the name of the supplier.
- Once you have checked all your fields, click Finish.