Creating a Receipt
After the reception of the delivery from your supplier, you need to receive and register the order.
- Go to Purchase Order page.
- Use the filters to find your purchase order.
-
In the header, click the three dots
 , then .
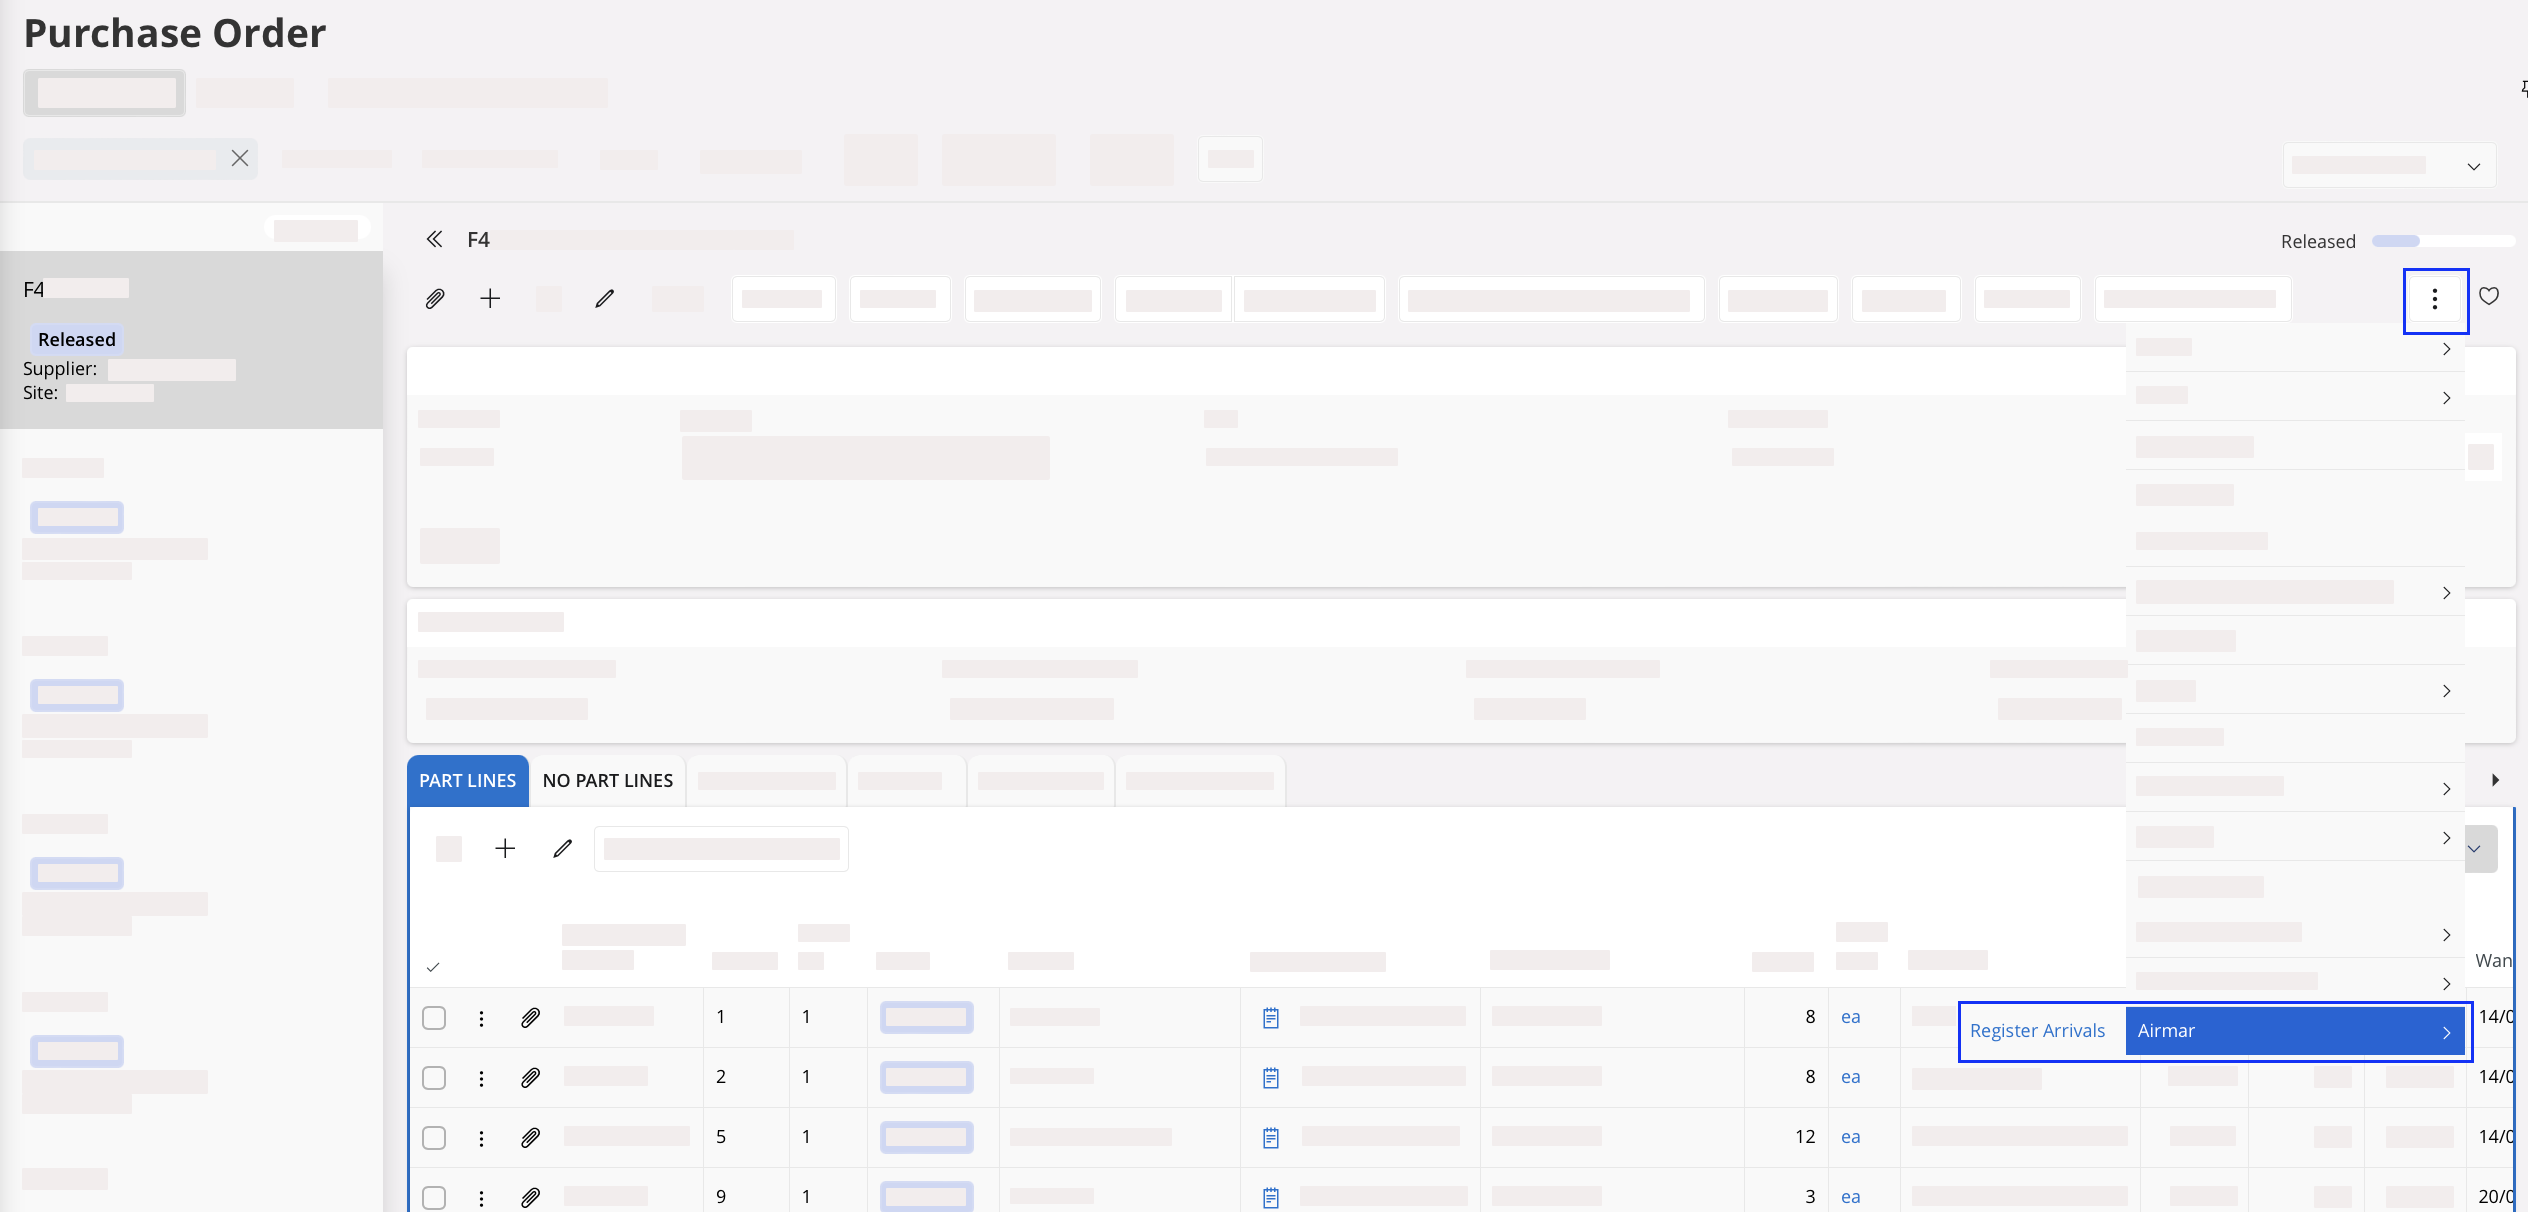
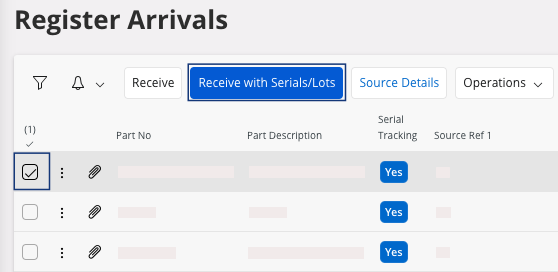
Tip:To easily identify your line(s) as serialized part(s) or non serialized part(s), refer to the fields Part No and Description or refer to the field Serial Tracking.- If Serial Tracking field is Yes: your line contains serialized part(s).
- If Serial Tracking field is empty: your line contains non serialized part(s).
Creating a Receipt for Serialized Part
-
Select your line, then in the header, click Receive with
Serials/Lots.
The Receive with Serials/Lots pane appears. -
Fill the following fields:
- Receipt Reference.
- Location No: choose a location where the part will be stocked.
- Serial No, mandatory on those parts. It must correspond to the serial number on the delivery note from the supplier or on the product.
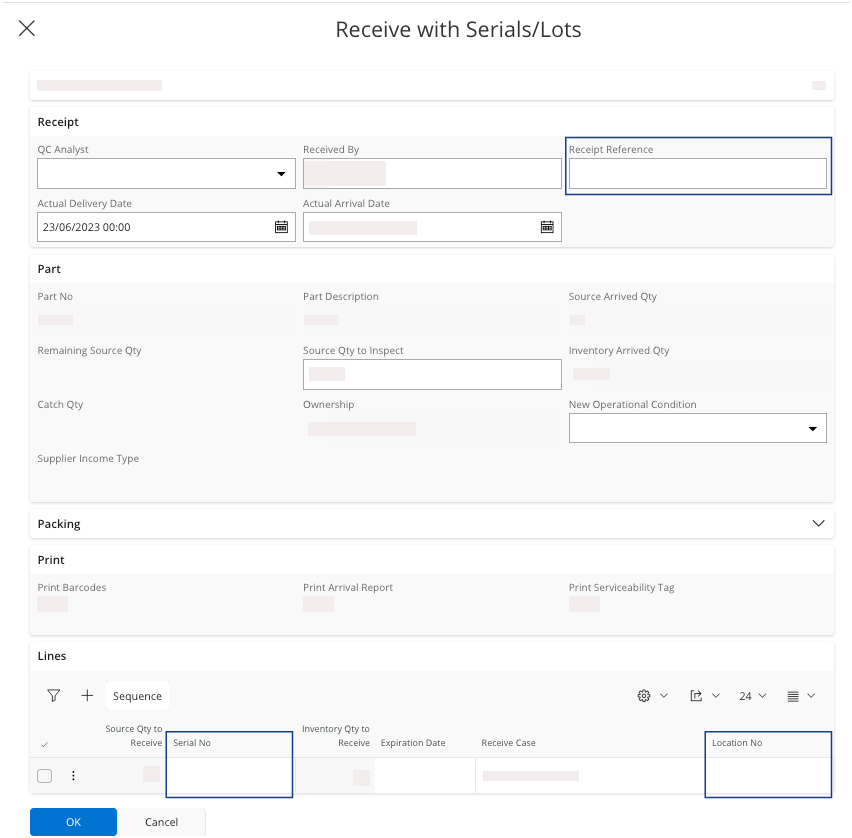
Note:In case you receive a partial quantity of your order lines, you need to delete the lines non-received. In the box Lines: select your line(s) and click Delete selected record(s) .
. -
Click OK and Proceed.
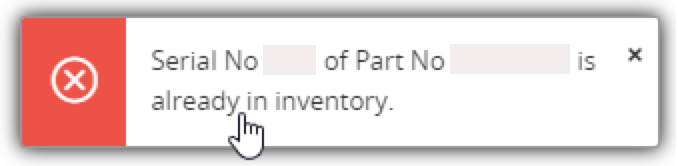
Note:In case of error during this task, the serial number is checked. You cannot put twice the same serial number.
Creating a Receipt for Non Serialized Part
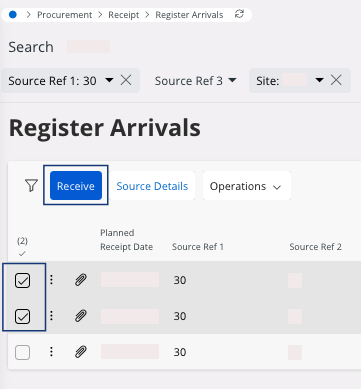
-
Select your line(s) and click Receive.
The Receive pane appears. -
Fill the following fields:
- Receipt Reference.
- Qty to Receive: enter the real quantity received.

Note:In case you receive a partial quantity of your order lines, you can find the remaining quantity in the page Register Arrivals. You will be able to select it during the next reception. - Click OK and Proceed.